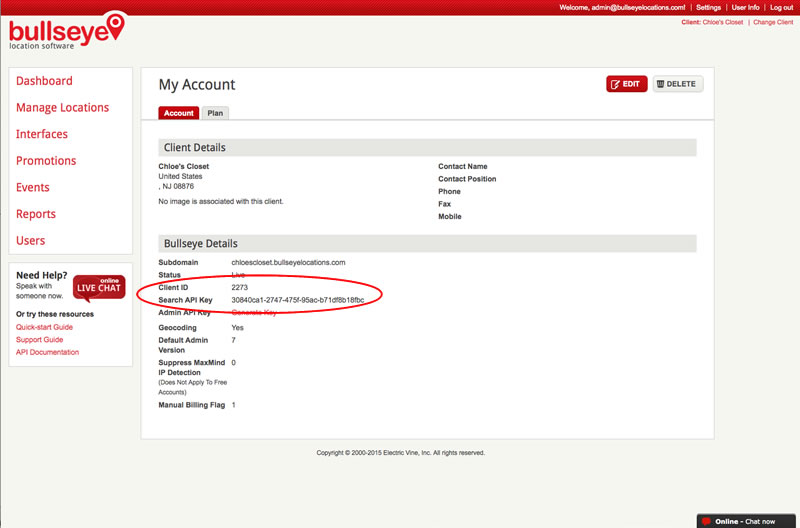
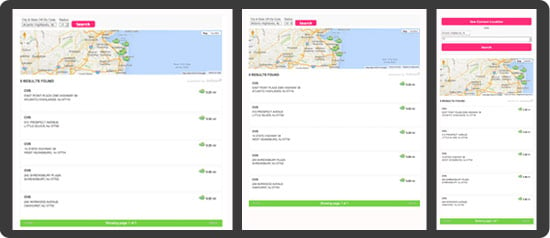
Recently, we’ve had a few questions from clients on how to use their brand’s web styles within the Bullseye store locator. So today we’re going to show you how quick and easy it can be to get custom store locator fonts working for two of the more popular web fonts, Google and Adobe Typekit.
Instructions for Custom Store Locator Fonts
Google Fonts
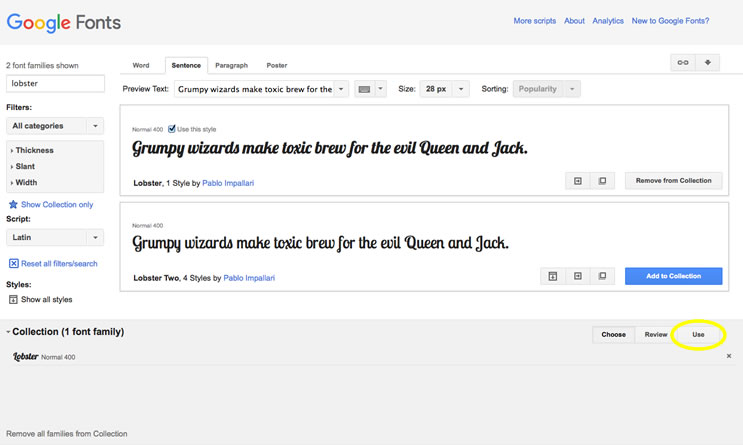
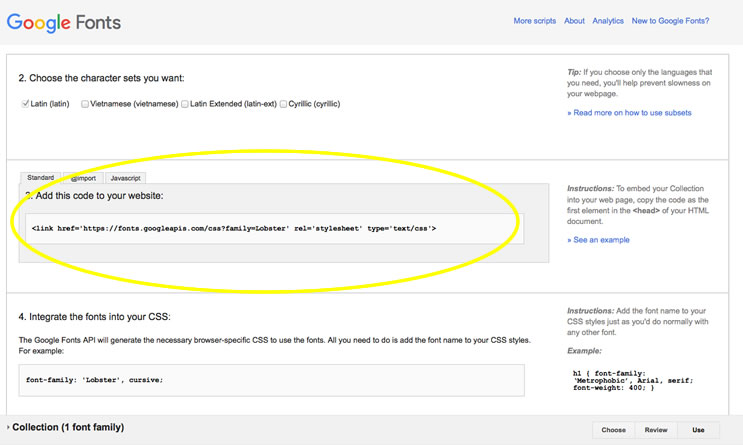
For adding Google Fonts, go to https://www.google.com/fonts. Choose your font collection and select Use.
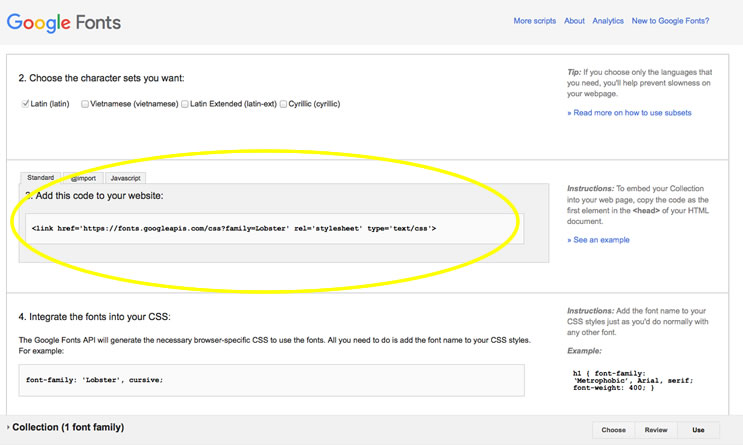
Copy the reference code.
Login to your Bullseye Admin then go to Interfaces and select the interface you want to Edit. Then go to the Styles section and click on the Advanced tab. This is where you’ll add the reference code from above as well as overriding some styles to use the font.
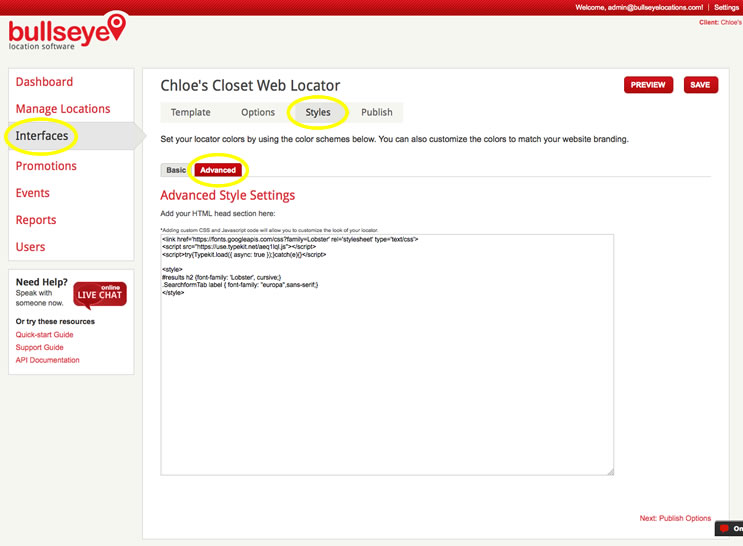
Here’s some sample code:
<link href=’https://fonts.googleapis.com/css?family=Lobster’ rel=’stylesheet’ type=’text/css’>
<style>
#results h2 {font-family: ‘Lobster’, cursive;}
</style>
Typekit
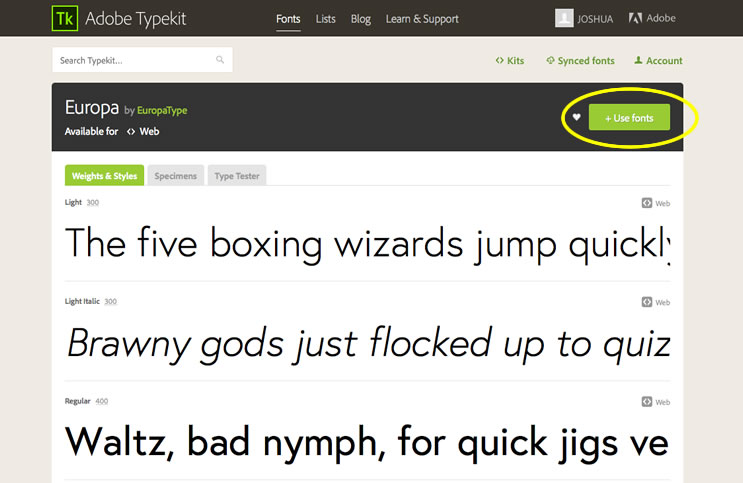
For Typekit, you’ll need to login or create an account at https://typekit.com. Select the font you want to use in your store locator.
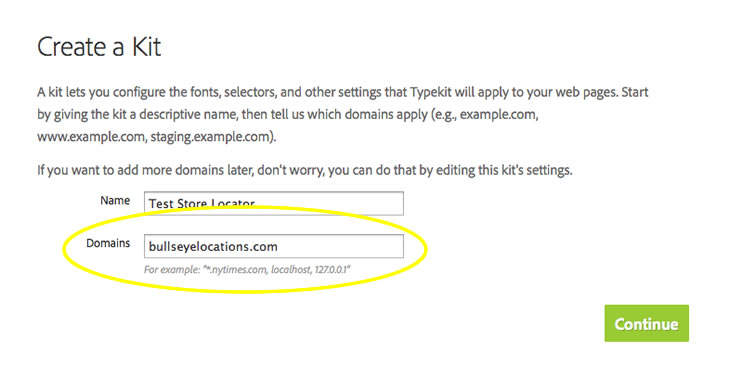
If you’re using the store locator in an iFrame, you’ll need to Create a Kit with the bullseyelocations.com domain so it gets whitelisted.
Then copy the Javascript reference code provided.
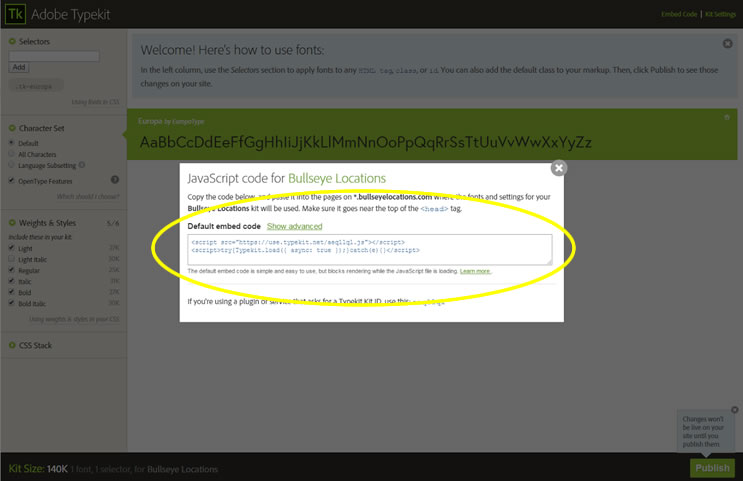
After logging in to your Bullseye account, go to Interfaces and select the interface you want to Edit. Then go to the Styles section and click on the Advanced tab. Paste the code above and add any overriding styles to use the font you selected.

Here’s some sample code:
<script src=”https://use.typekit.net/aeq1lql.js”></script>
<script>try{Typekit.load({ async: true });}catch(e){}</script>
<style>
.SearchformTab label { font-family: “europa”,sans-serif;}
</style>
And it’s that easy to brand your Bullseye store locator!
If you have any questions about how to setup an embeddable interface, check out our knowledgebase for more information: https://kb.bullseyelocations.com/support/solutions/articles/5000541957-creating-an-embeddable-interface

