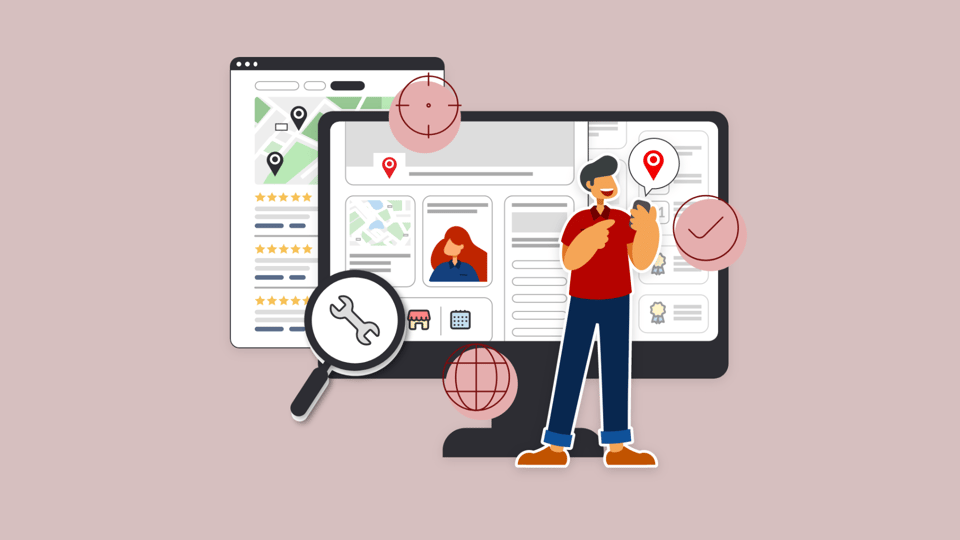
Images add exciting content to your locator and serve multiple purposes. You can use images as badges to differentiate your dealers. Perhaps you have preferred dealers that you want to distinguish. You may also have certain dealer certifications that you want to display. Or, you may want to provide images on your dealers’ profile pages to show installations that they have done to let consumers view work that your dealers have done with your products.
Here are three ways Bullseye supports images at the location level:
1. Display Images on the Location Card
Bullseye’s results thumbnail image can display a preferred badge, a picture of the dealer’s storefront, or your company’s unique certifications. Here is an example of a results card with a results thumbnail image:

To upload a badge/image similar to the example above, there are a couple options:
- Upload to individual locations
- Upload an image to a server and include the path to the image
How to Upload an Image to an Individual Location
To upload an image in the Bullseye admin, first, select a location to edit. Scroll down to the location images heading, and select the pencil icon under the Results Thumbnail area.
A window will pop up and you have the option to select “Upload a File” or “URL Reference.” Select Upload a File to upload a file from your computer.
Select URL Reference if you prefer to include a URL for an image you have stored on a server.
If you select Upload Files, you can grab an image as in the example below:

Select Save when you are done.
If your locator has profile/local pages, Bullseye also allows you to upload images for them. The images are uploaded in the same manner, right below the Results Thumbnail area. This gives your pages great content for visitors to explore.
Turn on the Image Display on your Interface
To display the uploaded images on your interface, select Interfaces in the left navigation, and select Edit on the correct interface. You’ll see the Display Heading:
.png?width=273&height=467&name=unnamed%20(2).png)
Expand the Display heading, and select Display Location Image. Select Save.
2. Display Images on Landing Pages
To display images on the landing pages, go to Interfaces/Local Pages and select Edit on the template you want to edit. Then select Content. Scroll down, and you will see options for the Profile/Results Thumbnail image and Gallery images:

Select both options to display both the results thumbnail and the landing page images you have uploaded. Select Save when you are done.
Note: Images are displayed at 300x300. For best results, upload images at least that size to avoid blurring. Square images generally work best.
How to Upload Images with the Location Upload for the Results Thumbnail and Landing Pages
You can use the .csv location upload to include images for multiple locations for both the thumbnail image and the landing page photos. For the Thumbnail Image, use the ImageURL column and include the correct image url for each location/row. Make sure you use a secure url. For the landing Page images, put as many image urls as needed in the landingPagePhotos column for each location/row. Multiple images urls should be separated by the pipe character (|).
See our Batch Upload article for info on how to batch upload images in .xml.
3. Display the Dealer Type Image
Bullseye offers a separate dealer type image which you can associate with the dealer types you set up. Dealer Types are typically prioritized (i.e. Gold dealers are ranked above Silver dealers). For more information on setting up dealer types, see Location Types.
Dealer type images may be uploaded image once, instead of uploading to multiple locations. The image gets displayed on all locations that are assigned to the dealer type.
Dealer type images may be uploaded image once, instead of uploading to multiple locations. The image gets displayed on all locations that are assigned to the dealer type.
To configure the Dealer Type image, go to Settings/Setup/Location Types. Select Edit next to the location type, then select Choose or Drop File.
The image will appear as in the example below:

Select Update when you are done.
Turn on the Dealer Type Image for your Interface
To make the image appear in the search results, go to Interfaces. Then, select Edit on the correct interface. Then go to the Display heading and check the Display Location Type Image option as in the example below:

Select Save.
Here is an example of a location type image on an interface:
-1.png?width=509&height=392&name=unnamed%20(5)-1.png)
Displaying images on your locator helps keep web visitors interested and encourages sales by providing relevant content that helps them learn about your dealers.
Want to learn more about Images? Schedule a meeting today We'd love to walk you through it.
Thanks,
Tom Flynn
Rock Star Account Manager